


If your Keurig not working after cleaning with vinegar is an issue you’re facing, be assured that this is a solvable problem. We’ll guide you through quick fixes to pinpoint and resolve the snag, ensuring that your coffee routine remains uninterrupted.
Key Takeaways
- After cleaning a Keurig with vinegar, rinsing with fresh water, checking for dislodged coffee grounds, and ensuring the water reservoir is properly attached can resolve non-brewing issues.
- Regular Keurig maintenance including descaling every 3-6 months, using distilled or bottled water, and cleaning internal components can prevent future performance problems.
- If basic troubleshooting doesn’t fix the issue, advanced steps such as inspecting the pump and heating elements, resetting the machine, or contacting Keurig customer support may be necessary.
Diagnosing the Issue: Keurig Won’t Brew After Vinegar Cleanse

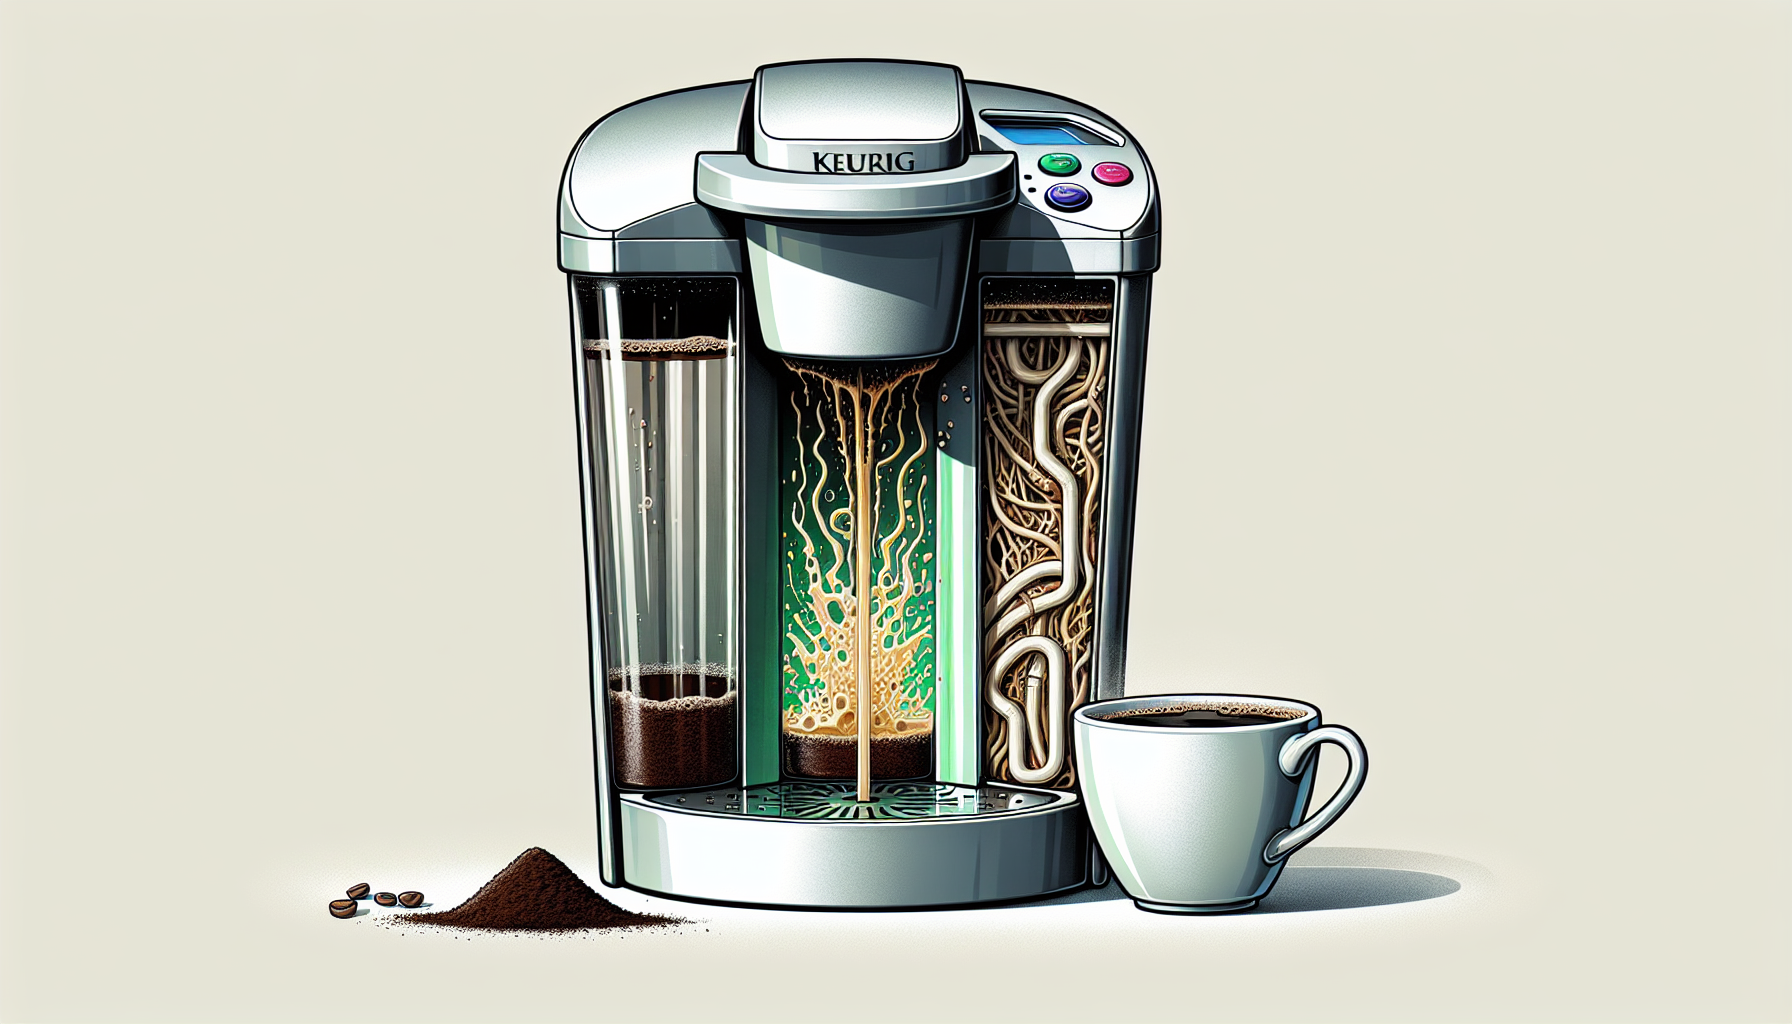
So, you’ve cleaned your Keurig coffee maker with vinegar, and now it won’t brew? Don’t worry, it’s a common issue that many Keurig users face. This could be due to several reasons, including residual vinegar in the system, dislodged coffee grounds, or improper reattachment of the water reservoir.
We will explore each of these possibilities in detail.
Identifying Residual Vinegar in the System
The first thing to consider is the possibility of residual vinegar in the Keurig. Vinegar is great for cleaning due to its acidic nature, but it can leave a strong odor in your coffee if not fully removed. A telltale sign of this is an altered coffee taste, especially a sour flavor, which can ruin your perfect cup of joe.
There is no need to worry, as a simple solution exists. Any vinegar residue can be eliminated by running multiple cycles with fresh water through your Keurig. It’s also a good practice to rinse the tank and repeat the flushing process with plain water after using the vinegar solution to ensure all vinegar is removed.
Checking for Dislodged Coffee Grounds
Another common culprit is dislodged coffee grounds. During the cleaning process, coffee grounds can get stuck in places they shouldn’t be, like the needle or other parts of the Keurig, hindering proper brewing. To check if this is the case, thoroughly inspect the K-Cup holder and the area surrounding the needle.
If you find any coffee particles causing a clog, you can use a paperclip or a toothpick to gently clean the needle’s holes and dislodge any trapped coffee grounds. Once you’ve done this, run a cup of plain water through the coffee maker to flush out any residual debris. With these steps, your machine should be back to its normal operation.
Ensuring Proper Water Reservoir Reattachment
The water reservoir should also be taken into consideration. If it’s not properly attached, your Keurig may not brew correctly. The reservoir should be seated securely in place with no gaps between the reservoir and the Keurig machine. If your Keurig displays a message to add more water despite the reservoir being full, this could be a sign that the reservoir is not properly positioned.
A misaligned or improperly seated water reservoir can cause the sensors not to detect the presence of water correctly, leading to brewing issues. So, double-checking the positioning of your water reservoir can save you a lot of trouble down the line.
Read Also: How to Descale Keurig K Supreme Plus with Vinegar
Clearing Blockages Post-Vinegar Cleaning
So you’ve checked for residual vinegar and dislodged coffee grounds, and ensured that the water reservoir is properly attached, but your Keurig still won’t brew? It’s time to check for blockages in the machine. Keurig blockages may occur because of air bubbles in the water line, or mineral buildup on the water filter. These factors can affect the machine’s performance..
Here are some methods to address these problems.
Flushing the Machine with Fresh Water
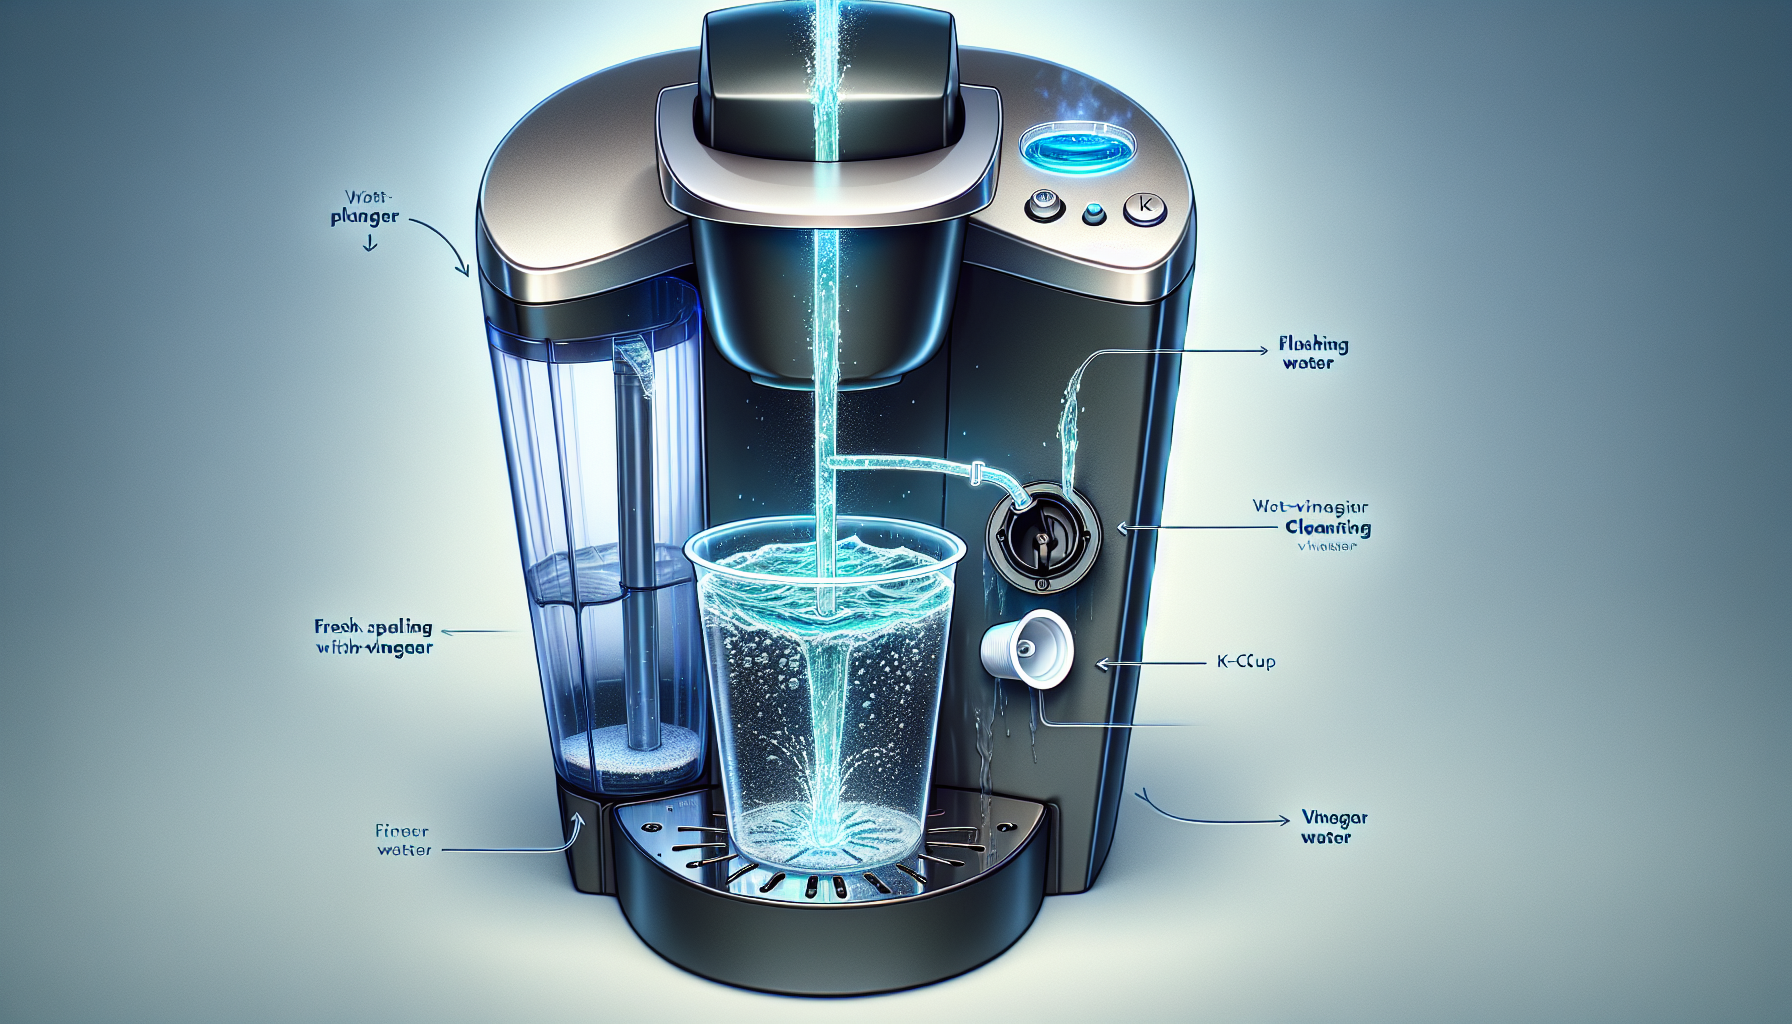
One effective method to remove any remaining vinegar or debris is to flush your Keurig machine with fresh water. After descaling with vinegar, follow these steps to thoroughly rinse the reservoir and remove any traces of vinegar or descaling solution:
- Perform at least 12 rinsing brews using the largest cup size.
- Make sure to discard the water from each brew.
- Continue this process until the water runs clear and there is no vinegar smell.
By following these steps, you can ensure that your Keurig machine is clean and ready to use.
Furthermore, after cleaning the needles, it’s a good idea to run two cups of clear water brewing to flush out any potentially dislodged debris and restore the water line flow. If you still find blockages, giving your Keurig firm taps on its side and base may help to dislodge any remaining debris.
Addressing Clogs in the K Cup Holder and Drip Tray
Next, the K-Cup holder and drip tray deserve attention. Any debris or mineral buildup in these parts can cause clogs and hinder your Keurig’s performance. Start by washing the K cup holder and funnel, being careful of the sharp exit needle. A thorough rinse should prevent debris from clogging.
Don’t forget the drip tray. Remove it from the Keurig, empty it, and wash it with warm soapy water using a non-abrasive cloth. This will remove any buildups and ensure no residue is left. If you notice any white mineral residue or lime buildup on the removable parts, a mixture of baking soda and warm, soapy water can come in handy.
Restoring the Water Line Flow
Finally, for the Keurig to function properly, the water line flow must be restored. Clogged filters and water lines due to mineral buildup can prevent your Keurig from pumping water correctly after a vinegar cleanse, potentially causing it to fail to recognize that the scaling issue has been addressed and get stuck.
A simple solution is to use a baster pipette to force water through the connection where the water tank meets the water line. This action may dislodge any remaining limescale obstructing the water flow. Additionally, shaking the Keurig machine slightly can help restore proper water flow necessary for brewing by releasing trapped air within the water lines.
Read Also: Keurig Add Water Light Not Working
Maintenance Tips to Prevent Future Issues
Having addressed the immediate issues, it’s time to discuss long-term care. Regular maintenance is essential for preventing future Keurig problems. This includes regular descaling, using the correct water for brewing, and keeping the internal components clean.
We will now go into detail on each of these maintenance tips.
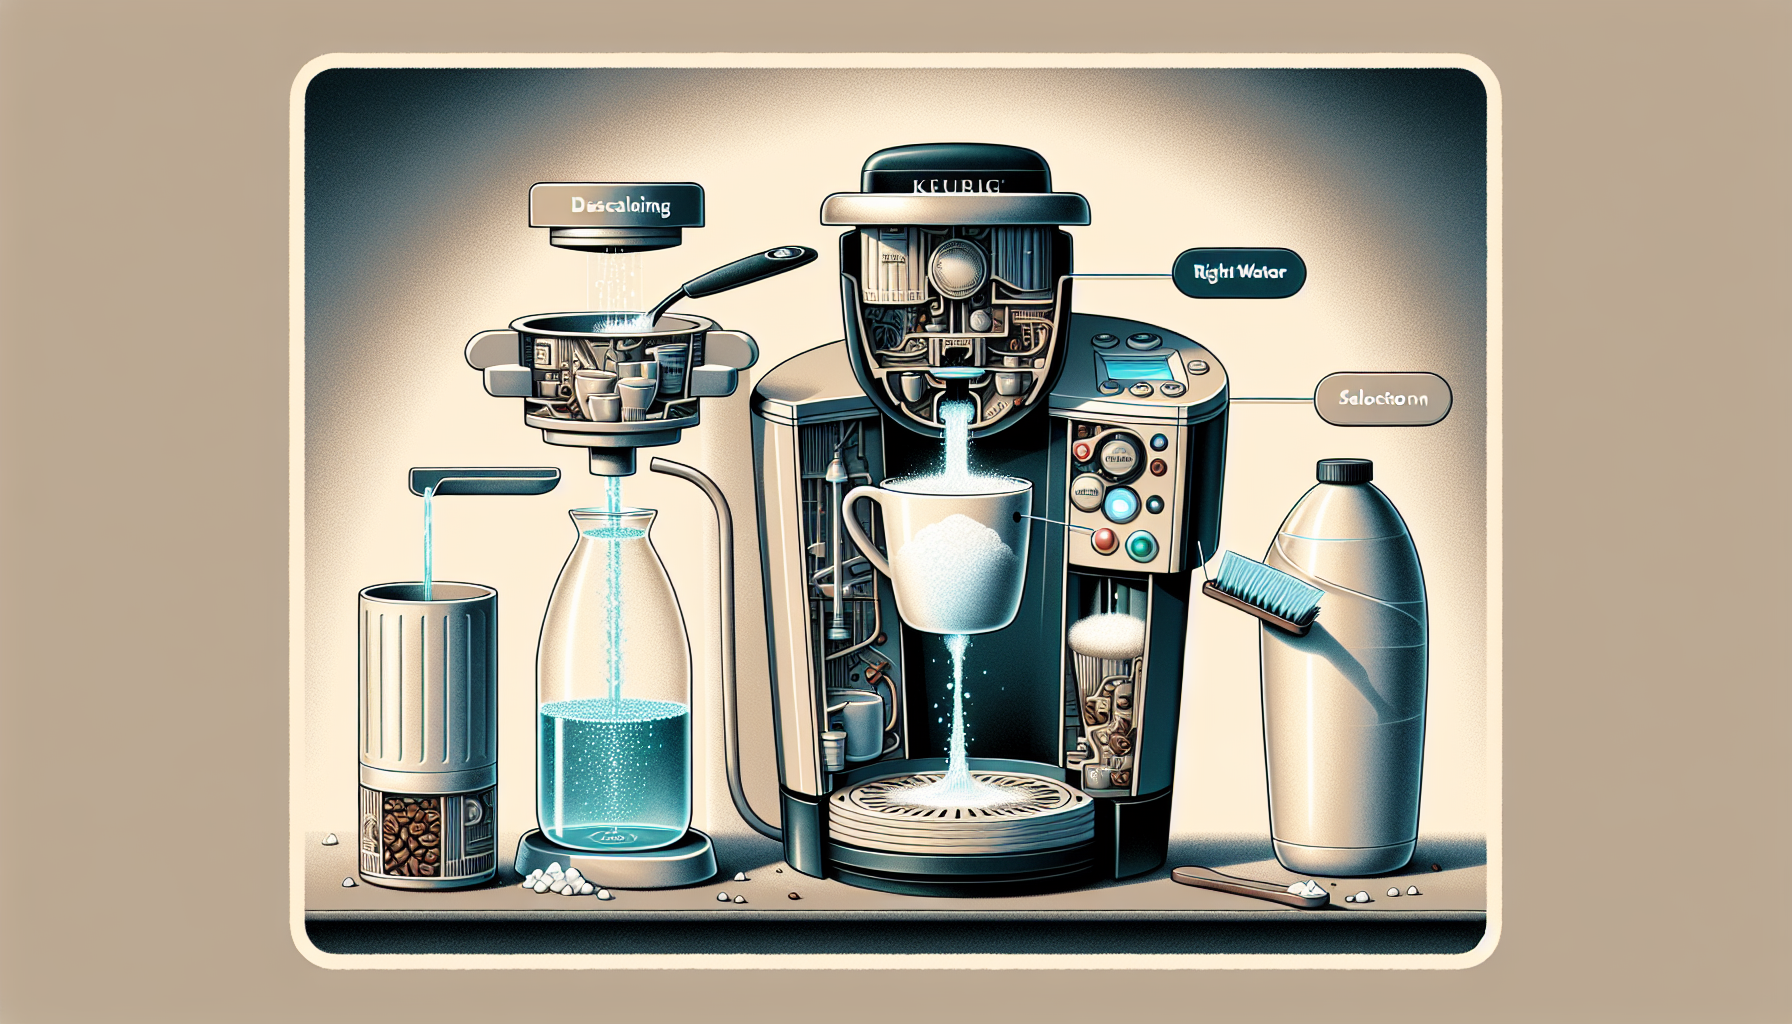
Regular Descaling with the Right Solution
Descaling is a crucial part of maintaining your Keurig. It should be done every three to six months to prevent calcium build-up, with more frequent cleaning if your machine experiences:
- slow brewing
- half-filled cups
- sputtering
- increased noise
For this, using a mixture of equal parts hot water, distilled white vinegar, and lemon juice is recommended to break down calcium deposits.
Commercial descaling solutions, specifically designed for Keurig machines, are also available as an alternative to using white vinegar. Descaling dissolves mineral deposits in the machine’s water lines, which restores and maintains proper water flow for brewing. Remember, when descaling with vinegar, leave the solution in the Keurig for three to four hours to ensure adequate cleaning and dissolution of deposits. You may read also the guide on How to Reset Descale on Keurig
Choosing the Correct Water for Brewing
The type of water you use for brewing can greatly affect your Keurig’s performance. Using distilled or bottled water instead of tap water can help prevent scale issues in your Keurig, particularly in areas with hard water. Hard water contains minerals that can build up in your machine over time, leading to:
- blockages
- slower brewing times
- decreased water flow
- clogged needles
To ensure the best performance and longevity of your Keurig, it is recommended to use distilled or bottled water for brewing.
So if you’re in an area with hard water, consider using bottled or distilled water for your brews. Not only will this improve the performance of your Keurig, but it can also enhance the taste of your coffee. After all, a good cup of coffee is more than just about caffeine, it’s about taste too!
Keeping Internal Components Clean
Lastly, it’s important to discuss how to keep the internal components of your Keurig clean. This includes the pod holder, needles, and water spout. Regularly removing the pod holder and using a paper clip or needle cleaning tool to clear any coffee grounds lodged in the exit tube can prevent clogs.
It’s also important to regularly wipe the Keurig water spout with a damp cloth to prevent coffee oil and residue buildup. And don’t forget to clean the K Cup holder by disassembling its parts, soaking them in warm soapy water for about 5 minutes, then rinsing and drying them. A little bit of regular maintenance can go a long way in keeping your Keurig running smoothly.
Read Also: Keurig Descale Reset
Advanced Troubleshooting: When Basic Fixes Don’t Work

So you’ve tried all the basic fixes, but your Keurig still won’t brew? Don’t panic. There are still a few advanced troubleshooting steps you can take. These include inspecting the pump and heating elements, resetting the machine, and if all else fails, contacting Keurig customer support.
Inspecting the Pump and Heating Elements
Before diving into advanced troubleshooting, remember to always disconnect your machine from power to ensure safety. To inspect the pump and heating elements, you’ll need to remove the bottom plate of the machine. Look for visible signs of damage, such as cracks or corrosion on the heating element.
To check the heating element for proper continuity, you can use a multimeter. If the pump makes noise but fails to move water, it may need replacing due to a potential motor failure. These steps may seem technical, but they can be quite handy in diagnosing the issue. You may read also the expert guide on Why Did My Keurig Stop Working After Descaling
Resetting the Keurig Machine
If inspecting the pump and heating elements doesn’t solve the problem, you may need to reset your Keurig to its factory settings. Start by powering off the unit, remove the water reservoir, and disconnect the machine for several minutes.
After reconnecting the machine to power, turn it on while holding down the brew button to initiate the factory reset process. Remember, some Keurig models have a dedicated reset button or require a specific combination of button presses for a factory reset, so it’s worth checking your machine’s manual.
Contacting Keurig Customer Support
If all else fails, it’s time to call in the cavalry – Keurig’s customer support. They can be reached through:
- Phone
- Live chat on their official website
- Social media platforms like Twitter
Prepare your machine’s model number, purchase information, and serial number before the call, to make the process smoother.
Keurig’s customer service can provide repair or replacement services for coffee makers that are still under warranty. So while it can be frustrating when your Keurig stops working, remember, help is just a call or click away.
See Also: Keurig Descale Light Won’t Turn Off
Refreshing Your Keurig: The Final Rinse
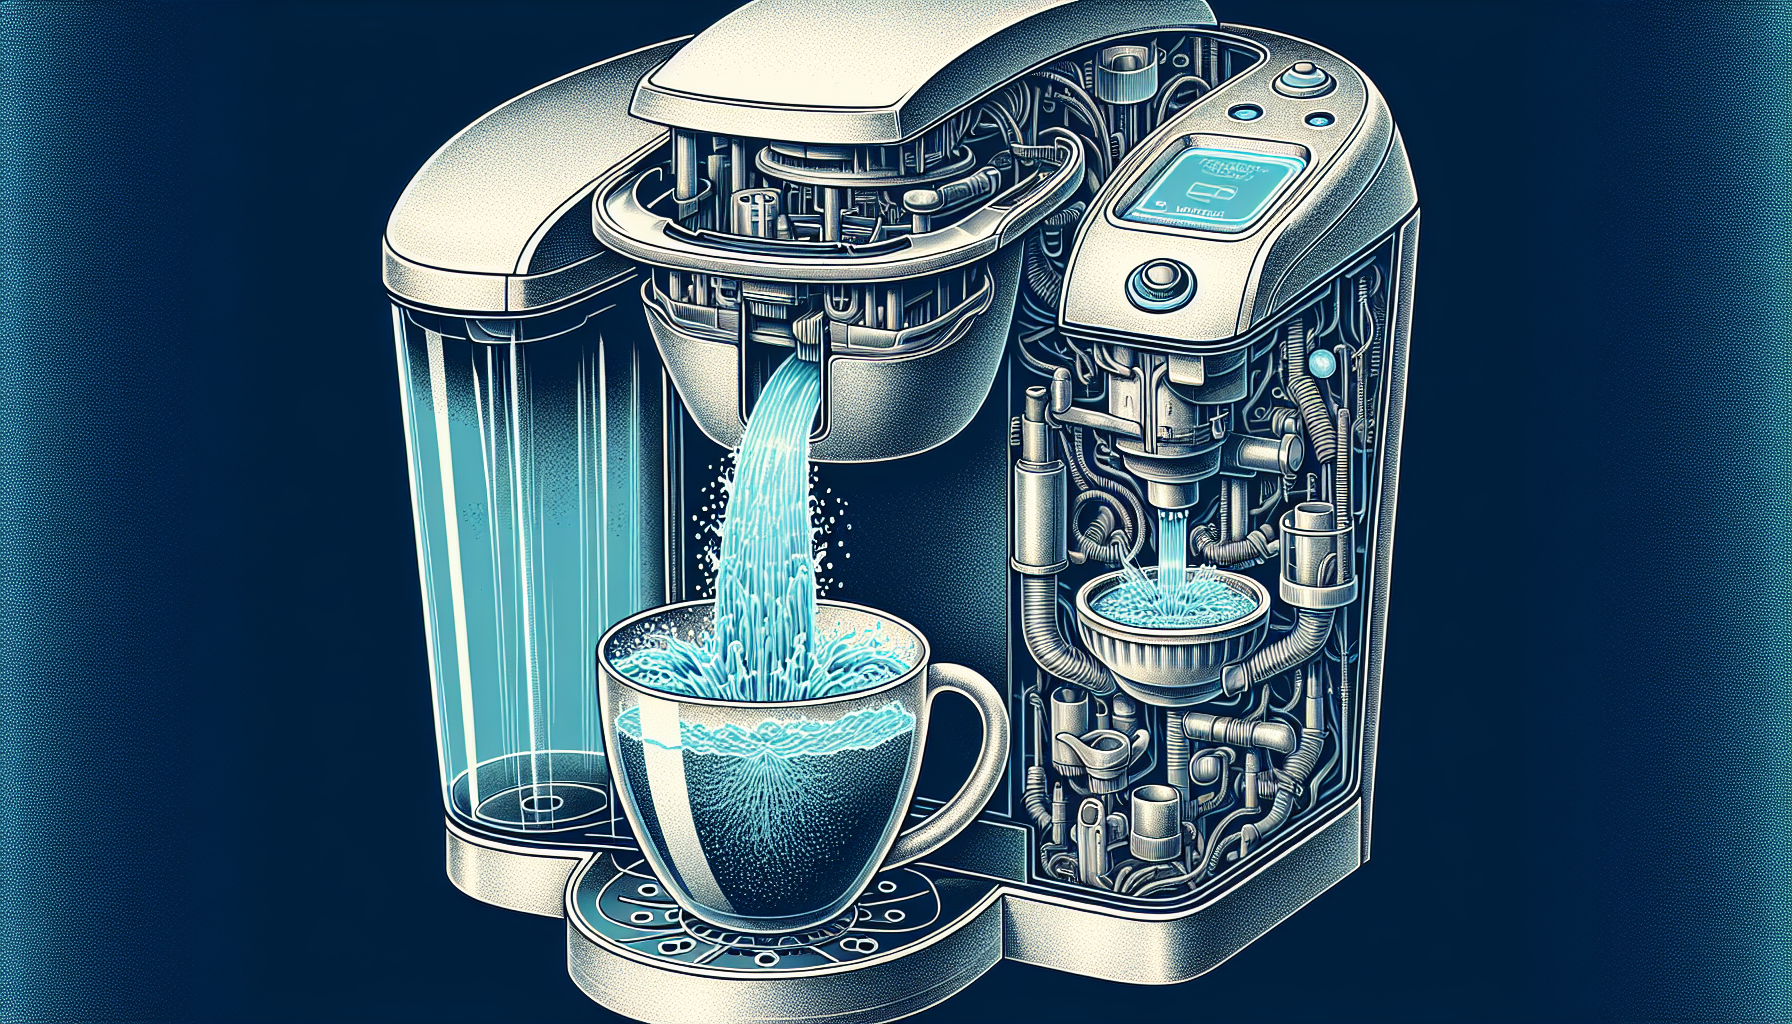
Once all the troubleshooting and maintenance have been completed, the final step is to rinse your Keurig. This step is crucial as it flushes out any remaining vinegar and minerals from the machine, ensuring your coffee tastes as it should and your machine performs optimally.
To perform the final rinse, follow these steps:
- Fill the water reservoir with fresh water.
- Run several brew cycles without a K-Cup until the reservoir is empty.
- After completing the final brew cycle, do a taste test of the water from the last cycle.
- If there’s no residual vinegar flavor, your machine is ready for brewing coffee.
With that, you can return to enjoying your daily coffee ritual with your coffee machine!
Summary
In conclusion, a well-maintained Keurig coffee maker is the cornerstone of a perfect cup of coffee. Regular cleaning and descaling with vinegar, correct reassembly, and clearing any blockages are crucial to its performance.
Regular maintenance, including descaling, using the right water for brewing, and keeping the internal components clean, can prevent future issues. Advanced troubleshooting steps can be a lifesaver when basic fixes don’t work.
And remember, Keurig customer support is always there to help when you need it. So, take good care of your Keurig, and it’ll reward you with the perfect brew every time!
Read Also: How to Reset Descale Light on Keurig Slim
Frequently Asked Questions
How do I force my Keurig out of descale mode?
To force your Keurig out of descale mode, press the 8oz and 10oz buttons for 5 seconds to switch off the descale light.
How do you reset a Keurig after descaling?
To reset a Keurig after descaling, press and hold down the 8oz & 10oz buttons together for 3 seconds. Wait until the add water indicator stops flashing, then open and close the K-Cup compartment. Your machine will be reset and ready to use.
How do I unclog my Keurig water line?
To unclog your Keurig water line, use a paper clip to clean out any clogs and then run a cup of water through the machine to ensure it’s running clear and fast. Be sure to unplug your Keurig before starting this process for safety.
How can I remove residual vinegar from my Keurig?
To remove residual vinegar from your Keurig, run multiple cycles with fresh water and rinse the tank thoroughly with plain water afterward. This will ensure all the vinegar residue is properly flushed out.
How often should I descale my Keurig?
You should descale your Keurig every three to six months to prevent calcium build-up, and more frequently if you notice any issues with brewing or cup filling.


