


Waking up to the rich aroma of coffee is a morning ritual for many. But what if your coffee could be ready before you even step out of bed? That’s where your Keurig’s auto brew feature comes in handy.
This guide will walk you through the simple steps to set your Keurig to brew coffee automatically at your desired time. No need to fumble with complicated settings; we’ll show you how to enjoy that perfect cup with ease. Let’s get your mornings started on the right foot – with coffee that’s ready when you are.
Key Takeaways
- Keurig’s Auto Brew features offer both pre-programmed settings for ease and manual customization for personal preference.
- Setting up your Keurig includes selecting the perfect brew strength and size, which might require some initial trial and error.
- The programmable Auto Start and warming plate functions ensure your coffee is ready and at the ideal temperature when you wake up.
- Keurig’s mobile app integration enhances the brewing experience by allowing for remote brewing and saving personalized drink recipes.
- Regular maintenance, such as cleaning, descaling, and replacing the water filter, is crucial for the longevity of your Keurig machine.
Understanding Your Keurig’s Auto Brew Features
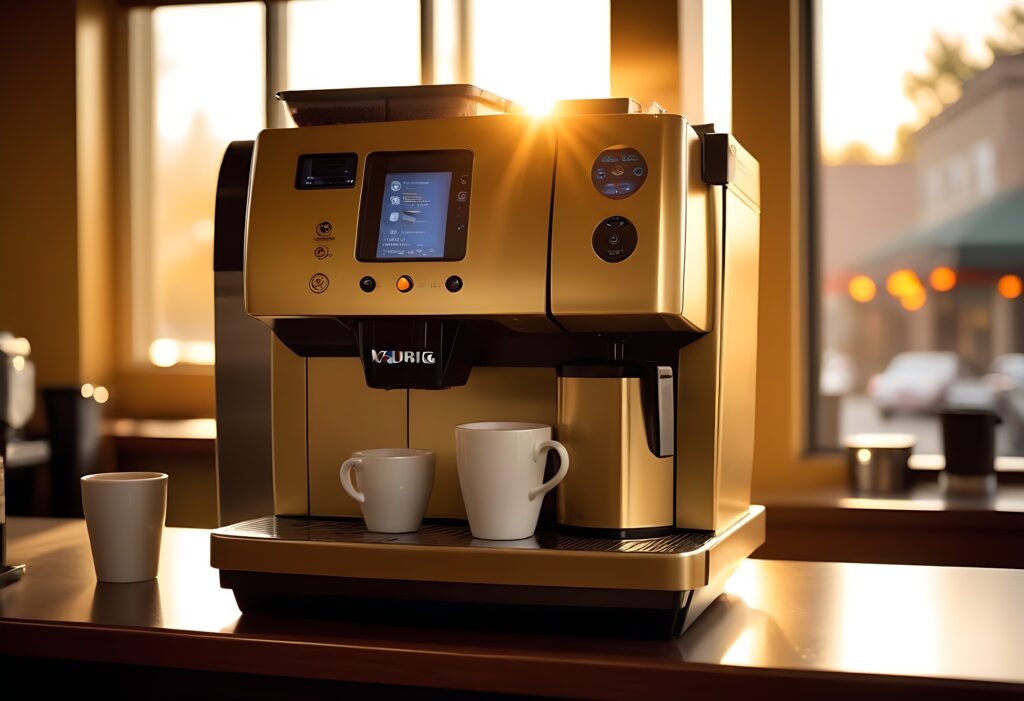
Exploring Pre-Programmed Settings
Keurig coffee makers, such as the Keurig K-Elite Single Serve K-Cup Pod Programmable Coffeemaker, come equipped with a variety of pre-programmed settings designed to simplify your coffee brewing experience. These settings allow you to customize your coffee to your exact preferences with the touch of a button.
The PROGRAMMABLE SETTINGS feature is particularly useful for those who want their coffee ready the moment they wake up. By using the ‘Auto On’ function, you can set the exact time for your coffee to start brewing each morning. This means no more waiting for the machine to warm up, as it will automatically begin the process at the specified time.
To access these settings, you’ll typically navigate through the machine’s digital interface. Some models may have a ‘Managers Menu’ or a ‘Technicians Menu’ for more advanced configurations. It’s worth taking the time to explore these options to tailor your morning coffee routine to your liking.
Customizing Your Brew Strength and Size
Keurig coffee makers offer a delightful range of customization for both brew strength and size, ensuring that every cup is tailored to your personal taste. By adjusting these settings, you can achieve the perfect balance of flavor and intensity for your morning coffee.
To customize your brew strength, simply select the desired option on your Keurig’s digital interface. Whether you prefer a mild, medium, or strong cup, the choice is at your fingertips. Experimenting with different strengths can lead to a more intensely flavored brew and highlight different flavor profiles.
When it comes to cup size, Keurig machines are versatile. Depending on the model, you can choose from a variety of sizes ranging from a small cup to a full carafe. To find out which cup sizes your Keurig is capable of brewing, refer to the model’s manual.
Here’s a quick guide to get you started:
- Check the model number of your Keurig.
- Refer to the user manual or Keurig’s website for specific cup size options.
- Select the cup size on the machine before brewing.
Customizing your Keurig allows for a personalized coffee experience every morning. With a few simple adjustments, you can ensure that your coffee is exactly how you like it, every single time.
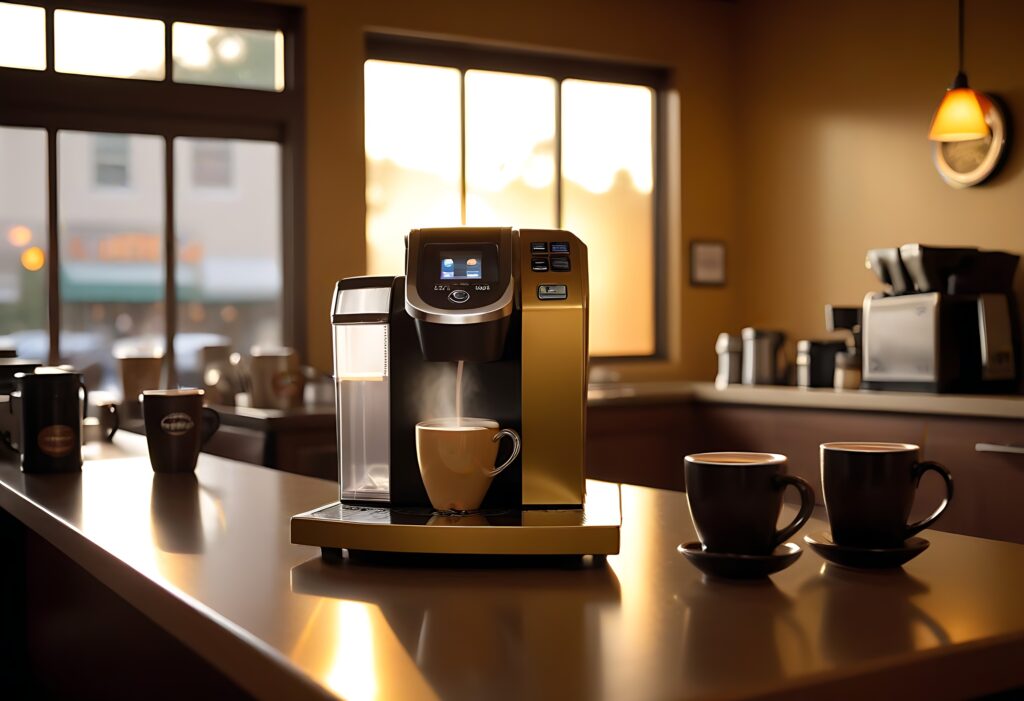
Navigating the Keurig Digital Interface
The Keurig digital interface is your gateway to a perfect cup of coffee. Easily navigate through menus to find your desired settings. Start by turning on your Keurig and using the touch screen or buttons to access the main menu.
- Select the ‘Brew’ option to begin customizing your coffee experience.
- Adjust the brew strength and size to match your preference.
- Explore additional features such as the ‘BrewID‘ to allow your machine to recognize specific K-Cup pods and tailor the brew settings for a distinctively delicious cup.
Once you’ve made your selections, simply press ‘Start’ and let your Keurig do the rest. The intuitive design ensures that personalizing your morning brew is both simple and enjoyable.
Read Also: What Keurig Model You Have
Setting Up Your Keurig for the First Time
Installing the Keurig and Water Filter Kit
Setting up your Keurig starts with the installation of the water filter kit. This is a crucial step to ensure that your coffee tastes fresh and is free of impurities. Begin by locating the water filter within your Keurig’s packaging. Next, soak the filter in fresh water for about five minutes, then rinse it under running water for 60 seconds.
Once the filter is prepared, insert it into the water reservoir of your Keurig machine. Make sure it’s firmly in place to avoid any water bypass. If your model supports a direct water line hookup, consider purchasing the appropriate fitting to streamline the process. This will allow for a constant supply of fresh water, eliminating the need to refill the reservoir manually.
After installing the water filter, fill the reservoir with water and run a few brewing cycles without a K-cup to clean the system. This will help remove any residue or dust that may have settled in the machine during manufacturing or shipping. Once these steps are completed, your Keurig is ready for regular use.
Trial and Error: Finding Your Perfect Settings
Finding the perfect settings for your Keurig involves a bit of experimentation. Start by following the included directions for the amount of coffee, grind texture, amount of water, and brew time. If the directions are unclear, a good rule of thumb is to use 12 ounces of coarsely ground beans per 2 liters of water, steeped for 12 to 14 hours. Adjust these variables in subsequent brews to fine-tune your coffee to your taste.
During this process, take note of any issues with setup, assembly, or design aspects that could affect your brewing experience. For example, dripping spouts or inconsistent grind sizes can impact the quality of your coffee. Use an instant-read thermometer to test the temperature of your coffee, ensuring that each cup is brewed to perfection.
After each adjustment, conduct a taste test. Try your coffee undiluted, diluted with cold water, and diluted with a milk product to understand how changes affect the flavor profile. This hands-on approach will lead you to discover the settings that work best for you.
Utilizing the In-Home Trial Period Effectively
The in-home trial period is a golden opportunity to ensure your Keurig is the perfect fit for your coffee needs. During this time, experiment with different settings and features to find your ideal brew.
Here’s how to make the most of it:
- Start by testing the basic functions, such as the brew size and strength. Adjust these settings to match your taste preferences.
- Next, explore the variety of K-Cups available, including the new K-Rounds plastic-free pods which are compatible with the latest Keurig models.
- Keep track of the coffees you enjoy most. This will help you create a personalized coffee experience once the trial period ends.
If you encounter any issues or have questions, remember that customer support is available. The trial period is also the perfect time to assess the machine’s ease of use and maintenance requirements. By the end of the trial, you should feel confident in your decision to keep or return the Keurig.
Read Also: How to Remove a Keurig Pod Holder
Mastering the Art of Automated Brewing
Creating Personalized Drink Recipes
Keurig’s versatility allows you to become your own barista, crafting personalized drink recipes that cater to your unique taste preferences.
Start by selecting a Coffee K-Cup pod and brewing it on the smallest size setting to achieve a concentrated flavor. Then, experiment with different add-ins like milk, syrups, or spices to create your signature morning beverage.
For instance, a Honey Cinnamon Latte might include a touch of sweetness and a warm spice kick to your daily brew.
Once you’ve found your perfect combination, you can save the recipe using Keurig’s digital interface or mobile app. This ensures a consistent and satisfying experience with every cup.
The app also provides the convenience of waking up your machine from the comfort of your bed, so your custom coffee is ready when you are.
Remember, the key to mastering automated brewing is trial and error; don’t be afraid to adjust your recipes as your tastes evolve.
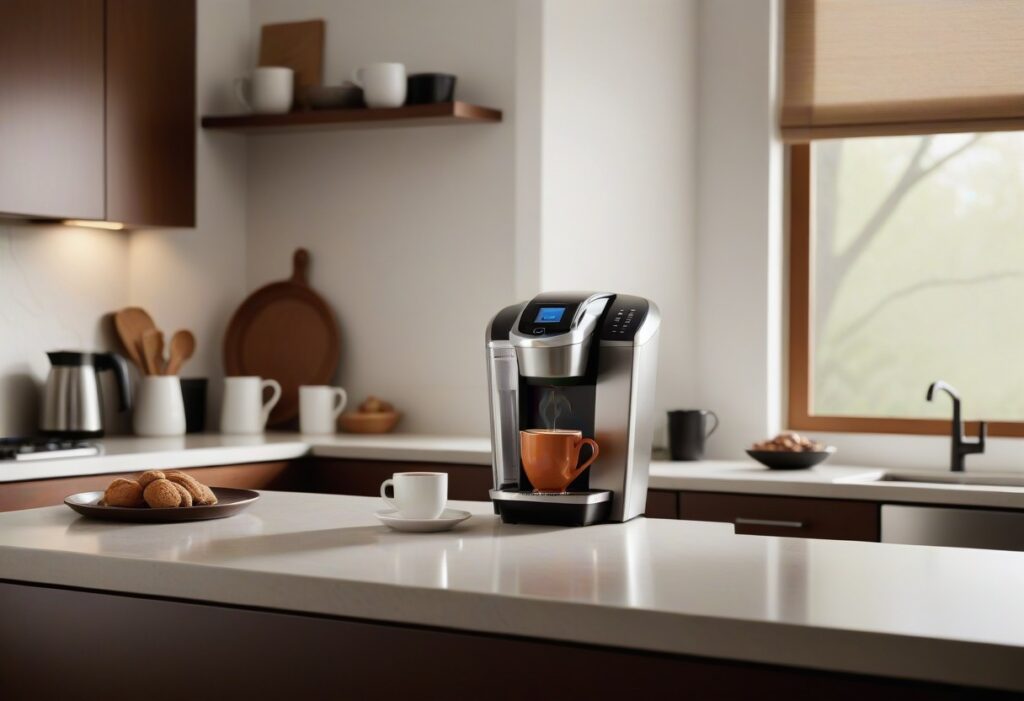
Scheduling Your Morning Coffee with Auto Start
The Auto Start feature on your Keurig allows you to wake up to the aroma of freshly brewed coffee without lifting a finger. Set your desired brew time in advance and let the machine do the rest.
Here’s how to schedule your morning coffee:
- Access the Manager’s Menu by entering the code (23456) on your Keurig’s digital interface.
- Navigate to the Auto Start settings and select the time you wish to have your coffee ready.
For those who prefer a modern approach, integrating your Keurig with a smart plug can offer even more convenience. Simply connect your coffee maker to a smart plug and use voice commands with your digital assistant, like saying “Alexa, Good Morning,” to activate the brewing process. This method ensures that your coffee is ready exactly when you need it, providing a seamless start to your day.
Maintaining the Perfect Temperature with the Warming Plate
After ensuring your coffee remains at the perfect temperature with the warming plate, the next step is to integrate the convenience of technology. Keurig’s mobile app takes your coffee experience to the next level.
Firstly, setting up the app is a breeze. Simply download it from your respective app store and follow the on-screen instructions to pair it with your machine. Once connected, you can enjoy a range of features:
- Remote brewing to start your coffee from anywhere in your home.
- Saving your favorite brew settings for quick and easy access.
- Waking up your Keurig machine with just a tap on your screen, ensuring it’s ready when you are.
By utilizing the app, you can not only customize your morning routine but also maintain the ideal brew temperature without physically interacting with the machine. This seamless integration represents a leap forward in kitchen appliance convenience and personalization.
See Also: Why Your Keurig Is Shutting Off While Brewing
The Convenience of Keurig’s Mobile App Integration

Setting Up and Using the App for Remote Brewing
The Keurig mobile app takes your coffee experience to the next level, allowing you to brew your perfect cup from anywhere. First, ensure your Keurig model is compatible with the app, such as the K-Supreme Plus SMART Single Serve Coffee Maker. Download the app from your device’s app store and create an account to get started.
Follow these simple steps to connect your Keurig to the app:
- Open the Keurig app and select ‘Add a New Brewer’.
- Follow the on-screen instructions to pair your device via Bluetooth or Wi-Fi.
- Once connected, you can customize your brew settings and save them for future use.
The app’s intuitive interface allows you to start brewing with just a few taps. You can adjust brew strength, temperature, and even schedule your coffee to be ready when you wake up. With the app, you’re always just moments away from a rich, full-flavored cup of coffee.
Saving Your Favorite Brews for Quick Access
With the Keurig’s mobile app, you can save your favorite coffee recipes for quick and easy access every morning. This feature is a game-changer for those who value efficiency and consistency in their daily routine.
Here’s how to make the most of it:
- First, experiment with different brew strengths, sizes, and even coffee brands to find your perfect cup.
- Once you’ve crafted a coffee that hits the spot, use the app to save the recipe with a custom name.
- The next time you crave that perfect brew, simply select your saved recipe from the app and start the brewing process with a single tap.
This personalized approach not only saves time but also ensures that your coffee is made exactly how you like it, every single time. Plus, having multiple profiles allows everyone in your household to enjoy their own custom brew without the hassle of manual adjustments.
Waking Up Your Machine from the Comfort of Your Bed
The modern convenience of Keurig’s mobile app transforms your morning routine into a seamless experience. With just a few taps on your smartphone, you can rouse your Keurig from its slumber, ensuring it’s primed and ready for your first cup of the day.
- Open the Keurig app on your mobile device.
- Select the ‘Wake Up’ feature to activate your coffee maker.
- Enjoy the luxury of staying cozy under the covers a little longer.
This feature is particularly handy on those brisk mornings when the thought of leaving your warm bed seems daunting. The app, available on Google Play, is lauded for its ability to connect you to all the delicious possibilities of your Keurig machine, anytime and anywhere.
By the time you’re ready to rise, your Keurig will be too, greeting you with the aroma of freshly brewed coffee.
Read Also: Keurig Add Water Light Not Working
Maintaining Your Keurig for Longevity
Regular Cleaning and Descaling
Keeping your Keurig in top condition requires regular maintenance. Descaling is a crucial process that should be performed every 3-6 months, or more frequently if you have hard water. This involves using a specific solution to break down mineral buildup within the machine’s internal plumbing, ensuring smooth operation.
To clean and descale your Keurig effectively, follow these steps:
- Empty any spent grounds and clean the reservoir.
- Use a Keurig-approved descaling solution or a homemade mixture of water and white vinegar.
- Run the descaling solution through the machine as per the manufacturer’s instructions.
- Rinse thoroughly by running water cycles until the reservoir is empty.
Some models may come with filters to prevent mineral deposits, and others might include specialty cleansers or tablets. Check if your machine requires these products or if they are simply recommended for optimal performance. Regular cleaning not only extends the lifespan of your Keurig but also ensures the best tasting coffee.
Replacing the Water Filter and Maintenance Tips
To ensure your Keurig continues to provide the perfect cup of coffee, replacing the water filter regularly is crucial. Typically, it’s recommended to change the filter every two months or after 60 tank refills.
Here’s a simple guide to replacing your filter:
- Start by purchasing the correct replacement filter for your Keurig model.
- Remove the old filter by opening the water reservoir and taking out the filter unit.
- Soak the new filter in fresh water for 5 minutes, then rinse it under running water for 60 seconds.
- Insert the new filter into the filter unit and place it back into the reservoir.
In addition to filter replacement, maintaining your Keurig involves regular cleaning. Hand wash the drip tray with warm water and dish soap. Clean the water reservoir and lid to prevent any buildup that could affect the taste of your coffee or the machine’s performance.
For a thorough cleaning, consider using a descaler kit made specifically for Keurig machines to tackle any mineral deposits.
Understanding the Warranty and Support Options
Keurig offers a one-year warranty from the date of purchase for its brewers, such as the Keurig K-Classic Coffee Maker. This warranty is crucial for protecting your investment against potential malfunctions and defects.
In addition to the standard warranty, there are extended protection plans available that cover accidental damage, including drops, spills, and broken parts. These plans also offer 24/7 support and an easy claims process, which can be initiated online or by phone. Most claims are approved swiftly, and if the product cannot be repaired, a replacement or e-gift card is provided.
To be eligible for these plans, they must be purchased either with the product or within 30 days of the product purchase. It’s important to note that pre-existing conditions are not covered under these plans.
For those seeking longer-term peace of mind, options such as a 3 Year Kitchen Protection Plan or a 4 Year Kitchen Protection Plan can be added to your order.
Read Also: Keurig Descale Reset
Conclusion
In conclusion, setting your Keurig to auto brew can revolutionize your morning routine, offering the perfect balance between convenience and customization.
Whether you’re rushing out the door on a Monday morning or savoring the start of a Sunday, a Keurig with programmable features caters to all your coffee needs.
With the ability to select your preferred brew strength, type, and even personalized drink recipes, your coffee experience can be as unique as your taste.
The initial setup may require some patience, but once dialed in, the convenience of waking up to a freshly brewed cup of coffee is unmatched.
Embrace the future of home brewing and make your mornings effortlessly delightful with a Keurig that’s ready when you are.
See Also: Keurig Descale Light Won’t Turn Off
Frequently Asked Questions
How do I set up my Keurig for auto brew?
To set up your Keurig for an auto brew, first ensure your machine is installed correctly with the water filter kit in place. Then, navigate to the digital interface and select the auto start feature, where you can schedule your brewing time. You may need to experiment with settings over a few days to find your perfect brew.
Can I customize my coffee strength and size with a Keurig?
Yes, Keurig machines often allow you to customize your coffee by selecting different brew strengths and sizes. Use the digital interface to adjust these settings to your preference.
Is there a mobile app for Keurig machines?
Many Keurig machines come with mobile app integration, allowing you to set up and use the app for remote brewing, save your favorite brews, and even wake up your machine from bed.
How do I maintain my Keurig machine?
Regular maintenance of your Keurig includes cleaning, descaling, and replacing the water filter as needed. Follow the manufacturer’s instructions for specific maintenance tips to ensure longevity.
What is the Keurig in-home trial period?
Some Keurig models offer a 30-day in-home trial period, allowing you to try the machine and ensure it meets your needs before making a final purchase.
What should I do if I encounter problems with my Keurig?
If you encounter issues with your Keurig, consult the user manual for troubleshooting tips. Additionally, check the warranty and support options for your specific model to seek professional assistance.